Unlike other ASO solutions where each time you want to start a new test you create new pages with new links, you only set up once for an app for all future tests with Upptic’s solution. Once an app is set up, the link to send traffic stays the same permanently, and all you have to do is upload more creatives to test and send traffic. Upptic will automatically iterate through all necessary tests to find the most optimal page.
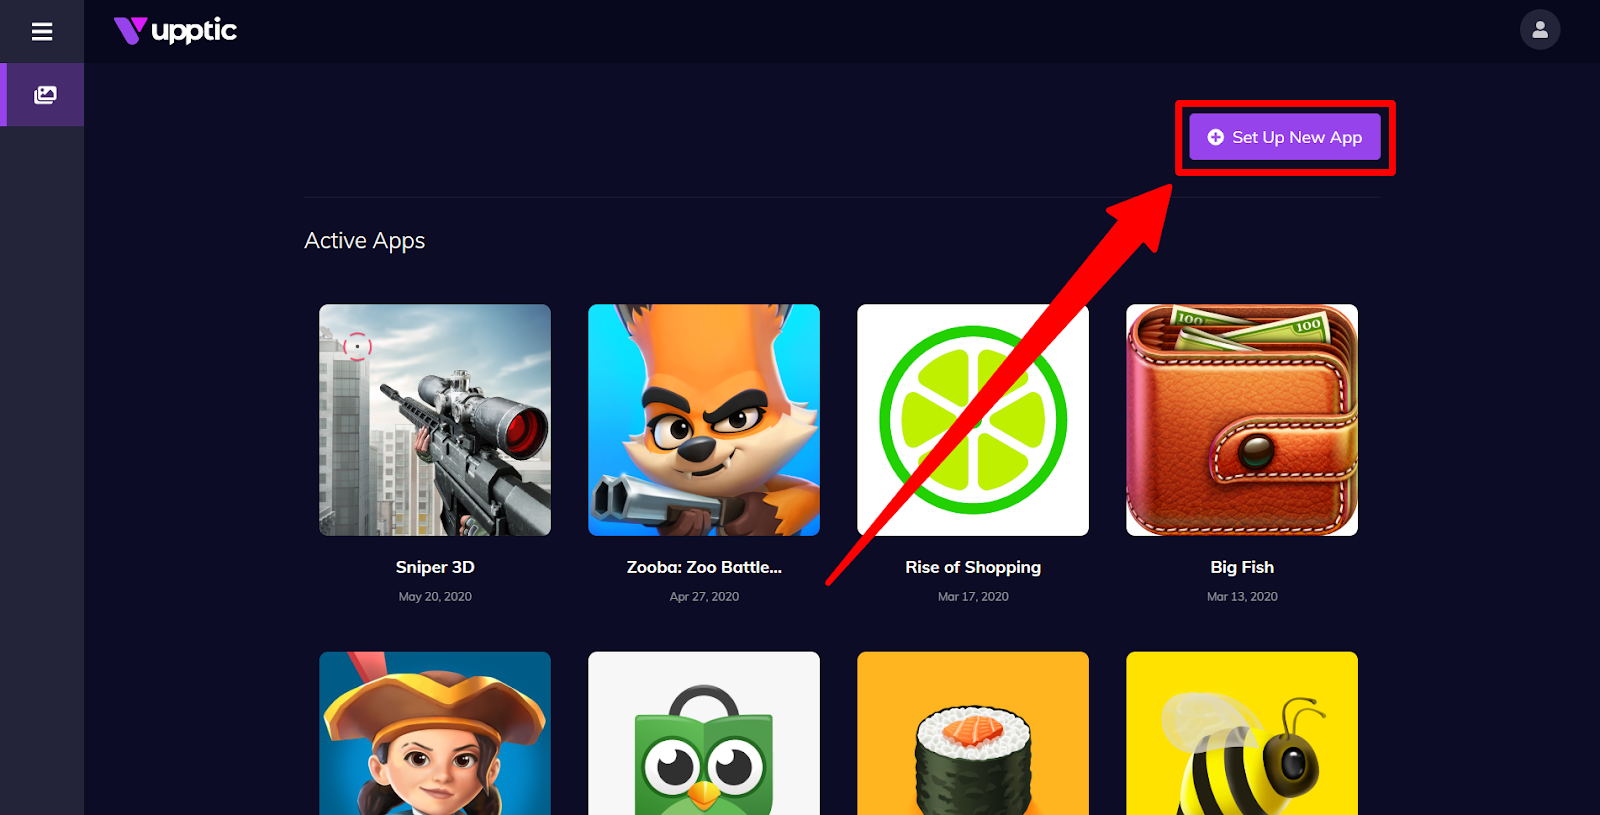
To set up testing for a new app, click “Set Up New App”:
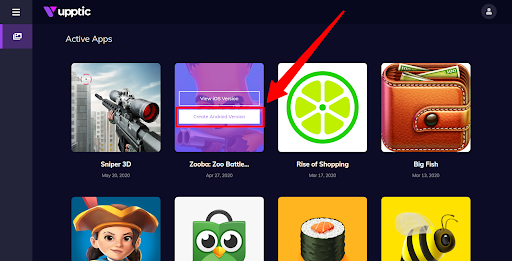
Let’s say you already have an app setup for its iOS version, and now want to set the Android version for the same app, simply hover over the existing app and select “Create Android Version”:
The wizard will take you through the 6-step setup process, starting with the App Name, Destination Address (the app store URL), and OS. Remember, you only have to do this one time for an app!
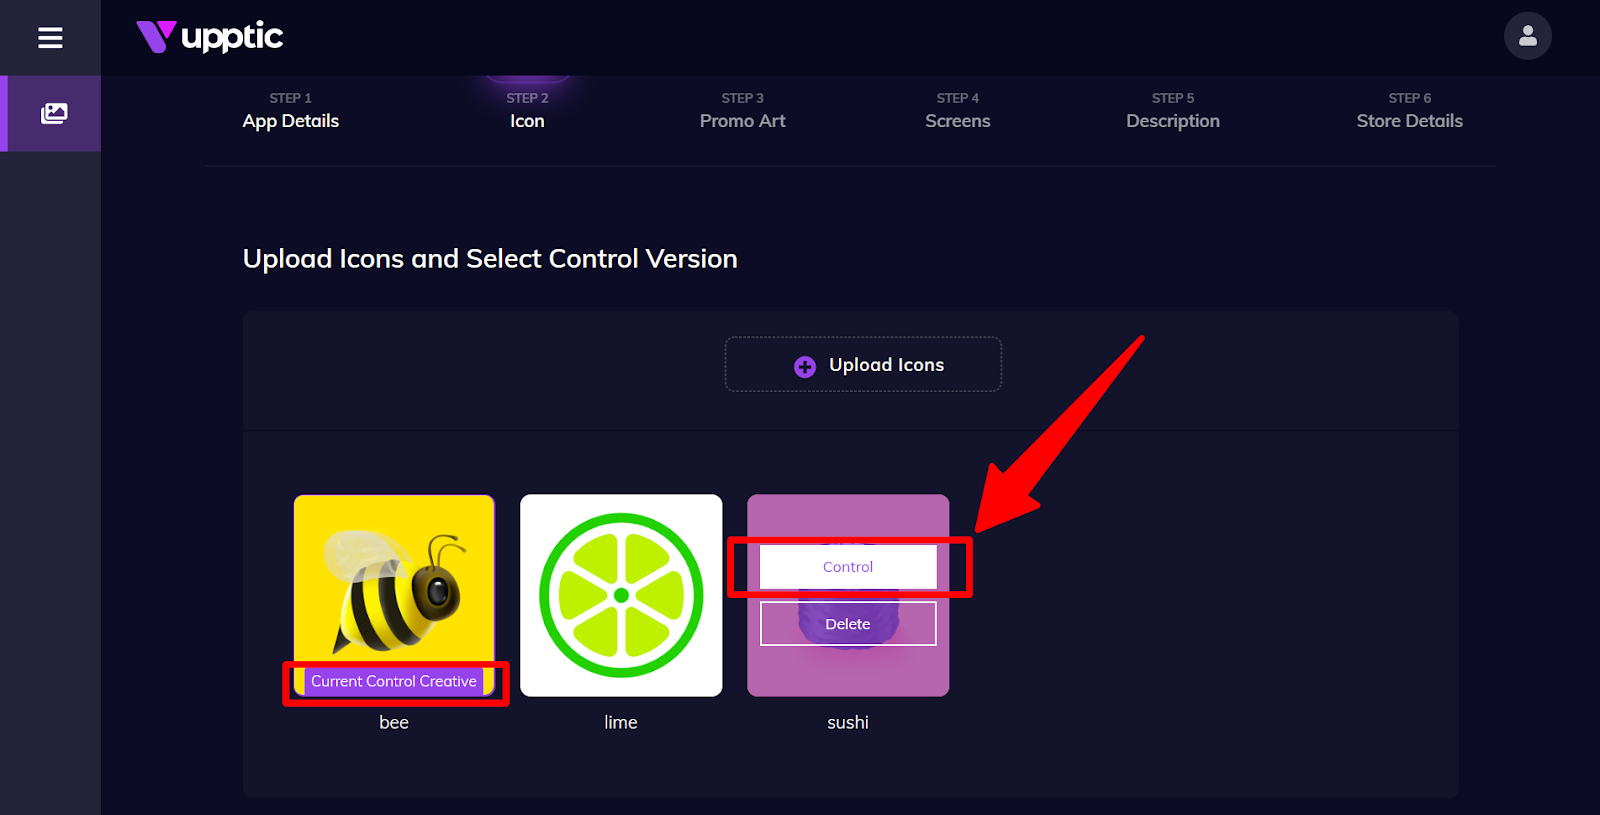
On Step 2, upload 2-5 icons you’d like to test, including the Control Icon, which is the icon you are currently using for the app and from which we want to improve upon.
You can see which icon is marked as the Control. To set a different icon as the Control, you can hover over it and select it as the Control:
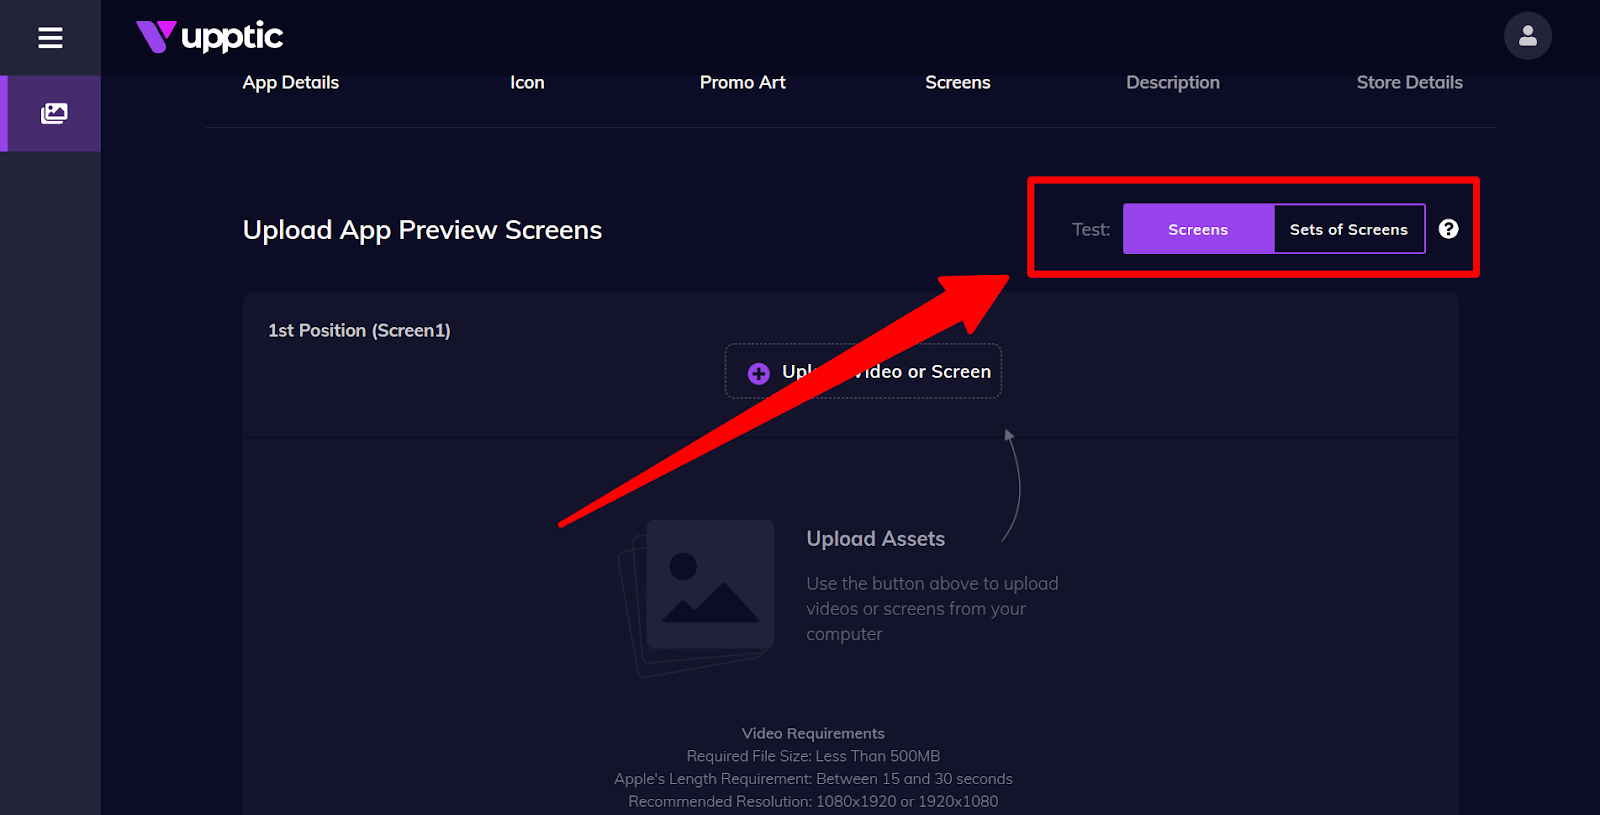
For Step 4 Screens, you can either split test each individual screenshot slot at a time or split test a Set of Screenshots.
For individual screenshots, the “1st Position (Screen1)” is the first screenshot (testing video is also supported) that you see on the page. Screenshots or videos you upload to the 1st position slot will be split tested by only rotating those assets while keeping everything else on the page static. Once it’s done testing the 1st screenshot position, our algorithm will move onto the “2nd Position (Screen2)”, and so on. You do not need to upload multiple screenshots to each slot. For example, if you only want to split test Screen1, then you can simply upload 1 asset as the Control for Screen2 and Screen3.
The section “Additional Screenshots” are not tested (due to minimal effect on ASO) and are only used for display purposes to fill out screenshots after the first 3 positions.
Alternatively, you can split test Sets of Screenshots by toggling here:
You must name each Set of Screenshots and mark 1 Set as the Control Set (the set of screenshots you’re currently using for the app). All screenshots will be swapped out and split tested against entirely different sets of screenshots. This is particularly useful for testing screenshots that must be displayed together (i.e. screenshots that have a common theme or coloring).
Step 5 allows you to test different Titles and Descriptions, and in Step 6, you simply have to enter the app information from your actual store page so that our test pages mirror your actual app details. Once finished with Step 6, click Submit and the app is created!
Recommended Best Practices
For highest impact of ASO testing, we recommend you test 2-4 icons, 2-4 screenshots for Screen1 (or 2-3 Sets of Screenshots), and possibly a couple of Promo Arts, if your app uses Promo Art.
It is best to test as diverse of creatives as possible between variants so the results will give you an idea of what kind of creatives work best for your app for each element. Once you understand what kind of creatives work best, you can start to narrow your scope and test more creatives of that kind. Testing very similar creatives is inefficient as the performance may be very similar, and it would take a lot more data to determine winners.
As far as traffic for the tests, we recommend replicating a successful user acquisition campaign for this purpose. If you are starting a new campaign, try to target a consistent audience that is similar to the target audience of your app. If you would like us to handle your ASO media campaigns for you for a fee, please contact us. We have a world class full service growth team.